
Today’s post is bought to you by the letter C, for Christina Tosi, and also for chocolate and cake. But it’s also bought to you by the letter D, for diabetes, because holy moly, this cake is loaded with sugar.
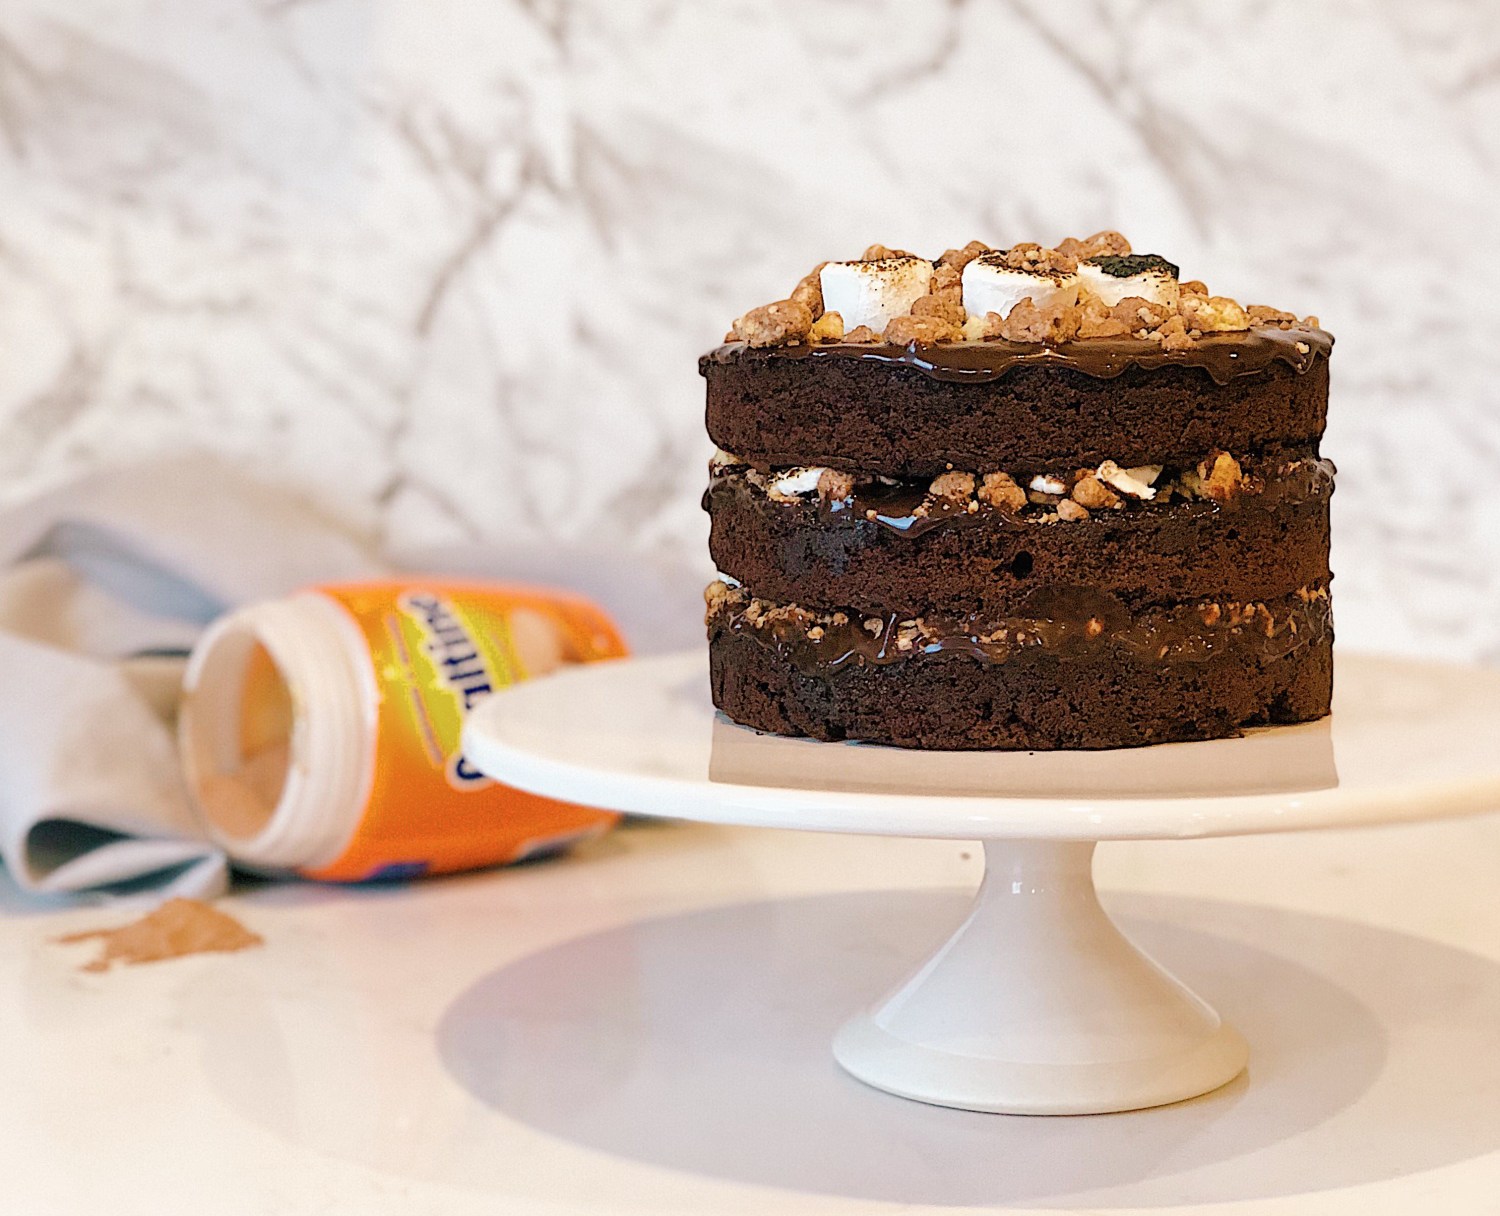
This is the last instalment of my ode to Christina Tosi. We’ve mastered the birthday cake, the crack pie, the compost cookies, and now it’s time to tackle the chocolate malt cake. Much like the birthday cake, this is composed of several different components. We have:
- a malted milk crumb
- fudge sauce
- malted fudge sauce
- chocolate cake
- an Ovaltine soak
- and charred marshmallows
It’s going to be one of those cakes that you make once, firstly because it is loaded with sugar, and secondly, it’s fiddly, although, with the exception of the Ovaltine soak, everything else can be made in advance. This definitely falls into the ‘treat’ category and would make a spectacular special occasion cake. I’m really happy with how it turned out although I have nothing to compare it to. I hope my husband reads this and understands how important an NYC ‘research’ trip is!
Here we go.
* you’ll also need a 6″ cake ring, and 2 strips of acetate, each 3″ wide and 20cm long.
For the malted milk crumb (you need to make a milk crumb, and then that gets turned in to a malted milk crumb – double the white chocolate!)
Ingredients
1 recipe milk crumb (recipe below)
60g Ovaltine, malt flavour
90g white chocolate, melted
Method
Toss the milk crumbs with the Ovaltine in a bowl until all of the crumbs are a light brown.
Pour the white chocolate over the crumbs and continue tossing until all of the clusters are enrobed. Continue tossing every 5 minutes until the white chocolate hardens and the clusters are no longer sticky.


The crumbs will keep in an airtight container in the fridge or freezer for up to 1 month.
For the milk crumb
Ingredients
40g milk powder
40g flour
12g cornflour
25g sugar
½ teaspoon salt
55g butter, melted
20g milk powder
90g white chocolate, melted
Method
Preheat the oven to 120°C and line a baking tray with baking paper.
In a medium bowl, combine the 40g milk powder, flour, cornflour, sugar and salt and toss with your hands to mix.
Add the melted butter and toss with a spatula until the mixture starts to come together and form small clusters.
Spread the clusters onto the baking tray and bake for 20 minutes. The crumbs should be sandy. Cool completely.


Crumble any clusters that are bigger than ½” in diameter, and put the crumbs in a medium bowl.
Add the 20g milk powder and toss until it is evenly distributed.
Pour the white chocolate over the crumbs and continue tossing until all of the clusters are enrobed. Continue tossing every 5 minutes until the white chocolate hardens and the clusters are no longer sticky.


The crumbs will keep in an airtight container in the fridge or freezer for up to 1 month.
The crumbs will keep in an airtight container in the fridge or freezer for up to 1 month.
For the fudge sauce
30g dark chocolate (about 72%), chopped
18g cocoa
1/8 teaspoon salt
100g glucose
25g sugar
55g cream
Method
In a medium bowl combine the chocolate, cocoa and salt, set aside.
In a small saucepan combine the glucose, sugar and cream. Bring it to the boil over a medium-high heat.
The moment it boils, pour it into the bowl with the chocolate and let it sit for one minute.
Slowly begin to whisk the mixture, increasing your speed every 20-ish seconds, until the mixture is smooth and glossy.
You can use it straight away or store it in an airtight container in the fridge for up to 2 weeks. Do not freeze.
For the malted fudge sauce
Ingredients
60g dark chocolate (about 72%), chopped
80g Ovaltine, malt flavour
1 teaspoon molasses
¼ teaspoon salt
200g glucose
50g sugar
110g cream
Method
In a medium bowl combine the chocolate, Ovaltine, molasses and salt, set aside.
In a small saucepan combine the glucose, sugar and cream. Bring it to the boil over a medium-high heat.
The moment it boils, pour it into the bowl with the chocolate and let it sit for one minute.
Slowly begin to whisk the mixture, increasing your speed every 20-ish seconds, until the mixture is smooth and glossy.
You can use it straight away or store it in an airtight container in the fridge for up to 2 weeks. Do not freeze.
For the chocolate cake
Ingredients
115g butter, cubed and at room temperature
300g sugar
3 eggs
100g buttermilk
40g grapeseed oil
1 teaspoon vanilla extract
38g of the fudge sauce you should have already made
155g cake flour
70g cocoa powder
1½ teaspoons baking powder
1½ teaspoons salt
Method
Preheat your oven to 180°C. Grease and line a 9×13″ baking tin and set aside.
In a small jug, combine the buttermilk, oil and vanilla. Set aside.
In a medium bowl, sift the flour, cocoa, baking powder and salt. Set aside.
In the bowl of a stand mixer fitted with a paddle attachment, cream the butter and sugar together on medium-high for 2-3 minutes. Scrape down the sides of the bowl.
Add the eggs and mix on medium-high for 2-3 minutes. Scrape down the sides of the bowl.
On low speed, stream in the buttermilk mixture. Increase the speed to medium-high and beat for 3-5 minutes, until the mixture is much lighter and twice the size of the original butter and sugar mixture. It should be completely homogenous, with no streaks of fat or liquid. Scrape down the sides of the bowl.
Add the fudge sauce and mix on low speed until fully incorporated. Scrape down the sides of the bowl.
On the lowest speed, add the flour mixture and mix until the batter just comes together, 45-60 seconds. Scrape down the sides yet again and mix for another 45 seconds.
Here’s how mine looked at each step:


Pour the batter into the prepared tin and bake for 30-35 minutes. Check the cake at 30 minutes – the edge of the cake should bounce back if you poke it and the centre should no longer be jiggly.
Cool on a wire rack. The cake can be stored in the fridge, wrapped in plastic, for up to 5 days.
For the charred marshmallows
Spread 150g marshmallows (use mini ones, see notes) on an unlined baking tray and char them to hell and back with a blowtorch.

Transfer the tray to the fridge for 10 minutes to firm up the marshmallows and make them easier to handle.
For the Ovaltine soak
Whisk together 2 tablespoons of Ovaltine and ¼c milk until the Ovaltine is completely dissolved. Use immediately.
And now the fun part – assembling!
Check you’ve got everything ready. You’ll need:
- ½ recipe malted milk crumb
- chocolate cake
- malt fudge sauce
- Ovaltine soak
- charred marshmallows
Place a piece of baking paper on the bench and invert the cake onto it. Peel off the baking paper from the bottom of the cake.
Use the cake ring to stamp out 2 circles from the cake. These are the 2 top layers. The bottom layer will be made up from the scraps.
Layer 1 – the bottom.
Clean the cake ring and place it in the centre of a baking tray lined with clean baking paper. Use 1 strip of acetate to line the inside of the cake ring.
Put the cake scraps into the ring and use the bottom of your hand to flatten the scraps into a flat, even layer.

Dunk a pastry brush in the Ovaltine soak and give the cake a good bath with half of the milk.
Use the back of a spoon to spread 1/5 of the malt fudge sauce in an even layer over the cake. (The warmer the fudge sauce, the easier it is to spread.)
Sprinkle 1/3 of the malted milk crumbs and 1/3 of the charred marshmallows over the malt fudge sauce. Gently push them down to anchor them in place.
Drizzle another 1/5 of the malt fudge sauce over the top.

Layer 2 – the middle.
With your index finger, gently tuck the second strip of acetate between the cake ring and the top ¼” of the first strip of acetate. Set a cake round on top and gently press down. Repeat the steps from the bottom layer – soak, fudge sauce, crumbs, marshmallows, fudge sauce.


Layer 3 – the top.
Nestle the remaining cake layer on top and cover it with the remaining fudge sauce.
Garnish with the remaining marshmallows and extra milk crumbs.


Transfer the baking tray to the freezer and freeze for a minimum of 12 hours. The cake will keep in the freezer for up to 2 weeks.
At least 3 hours before you are ready to serve the cake, remove it from the freezer, and gently pop the cake out of the cake ring and gently peel off the acetate.
Transfer the cake to a cake stand or platter and let it defrost in the fridge for a minimum of 3 hours. The cake will keep, wrapped well in plastic, for up to 5 days.
Notes
- Make sure the baking tray you are using to assemble your cake actually fits in your freezer!
- Don’t sub out the Ovaltine, the chocolatey malt taste is really noticeable. (You can easily find Ovaltine at the supermarket.)
- Canola oil can be substituted for the grapeseed oil.
- I had a lot of trouble finding acetate strips within driving distance. You can order them online from some online cake decorating shops, I found mine at Miss Bon Bon’s.
- I used a 6.5″ Gobel ring mould that I found at Milly’s Kitchen.
- I don’t know why I used big marshmallows. I would advise using little ones as it helps your layers sit flat.

© Once Upon An Egg. All images and content are copyright protected. Please don’t use my images without permission. If you want to republish this recipe, please re-write it in your own words, or link back to this post for the recipe.

The cake looks amazing, perfect birthday cake example!
LikeLike
Thanks heaps! It’s sooo tasty, I have lots of happy friends lol
LikeLiked by 1 person
[…] it is nice to just bake something simple. Sure, there’s a time and place for fancy cakes and a two day dough process, but mostly we just want something that’s ready to eat in under […]
LikeLike